Description
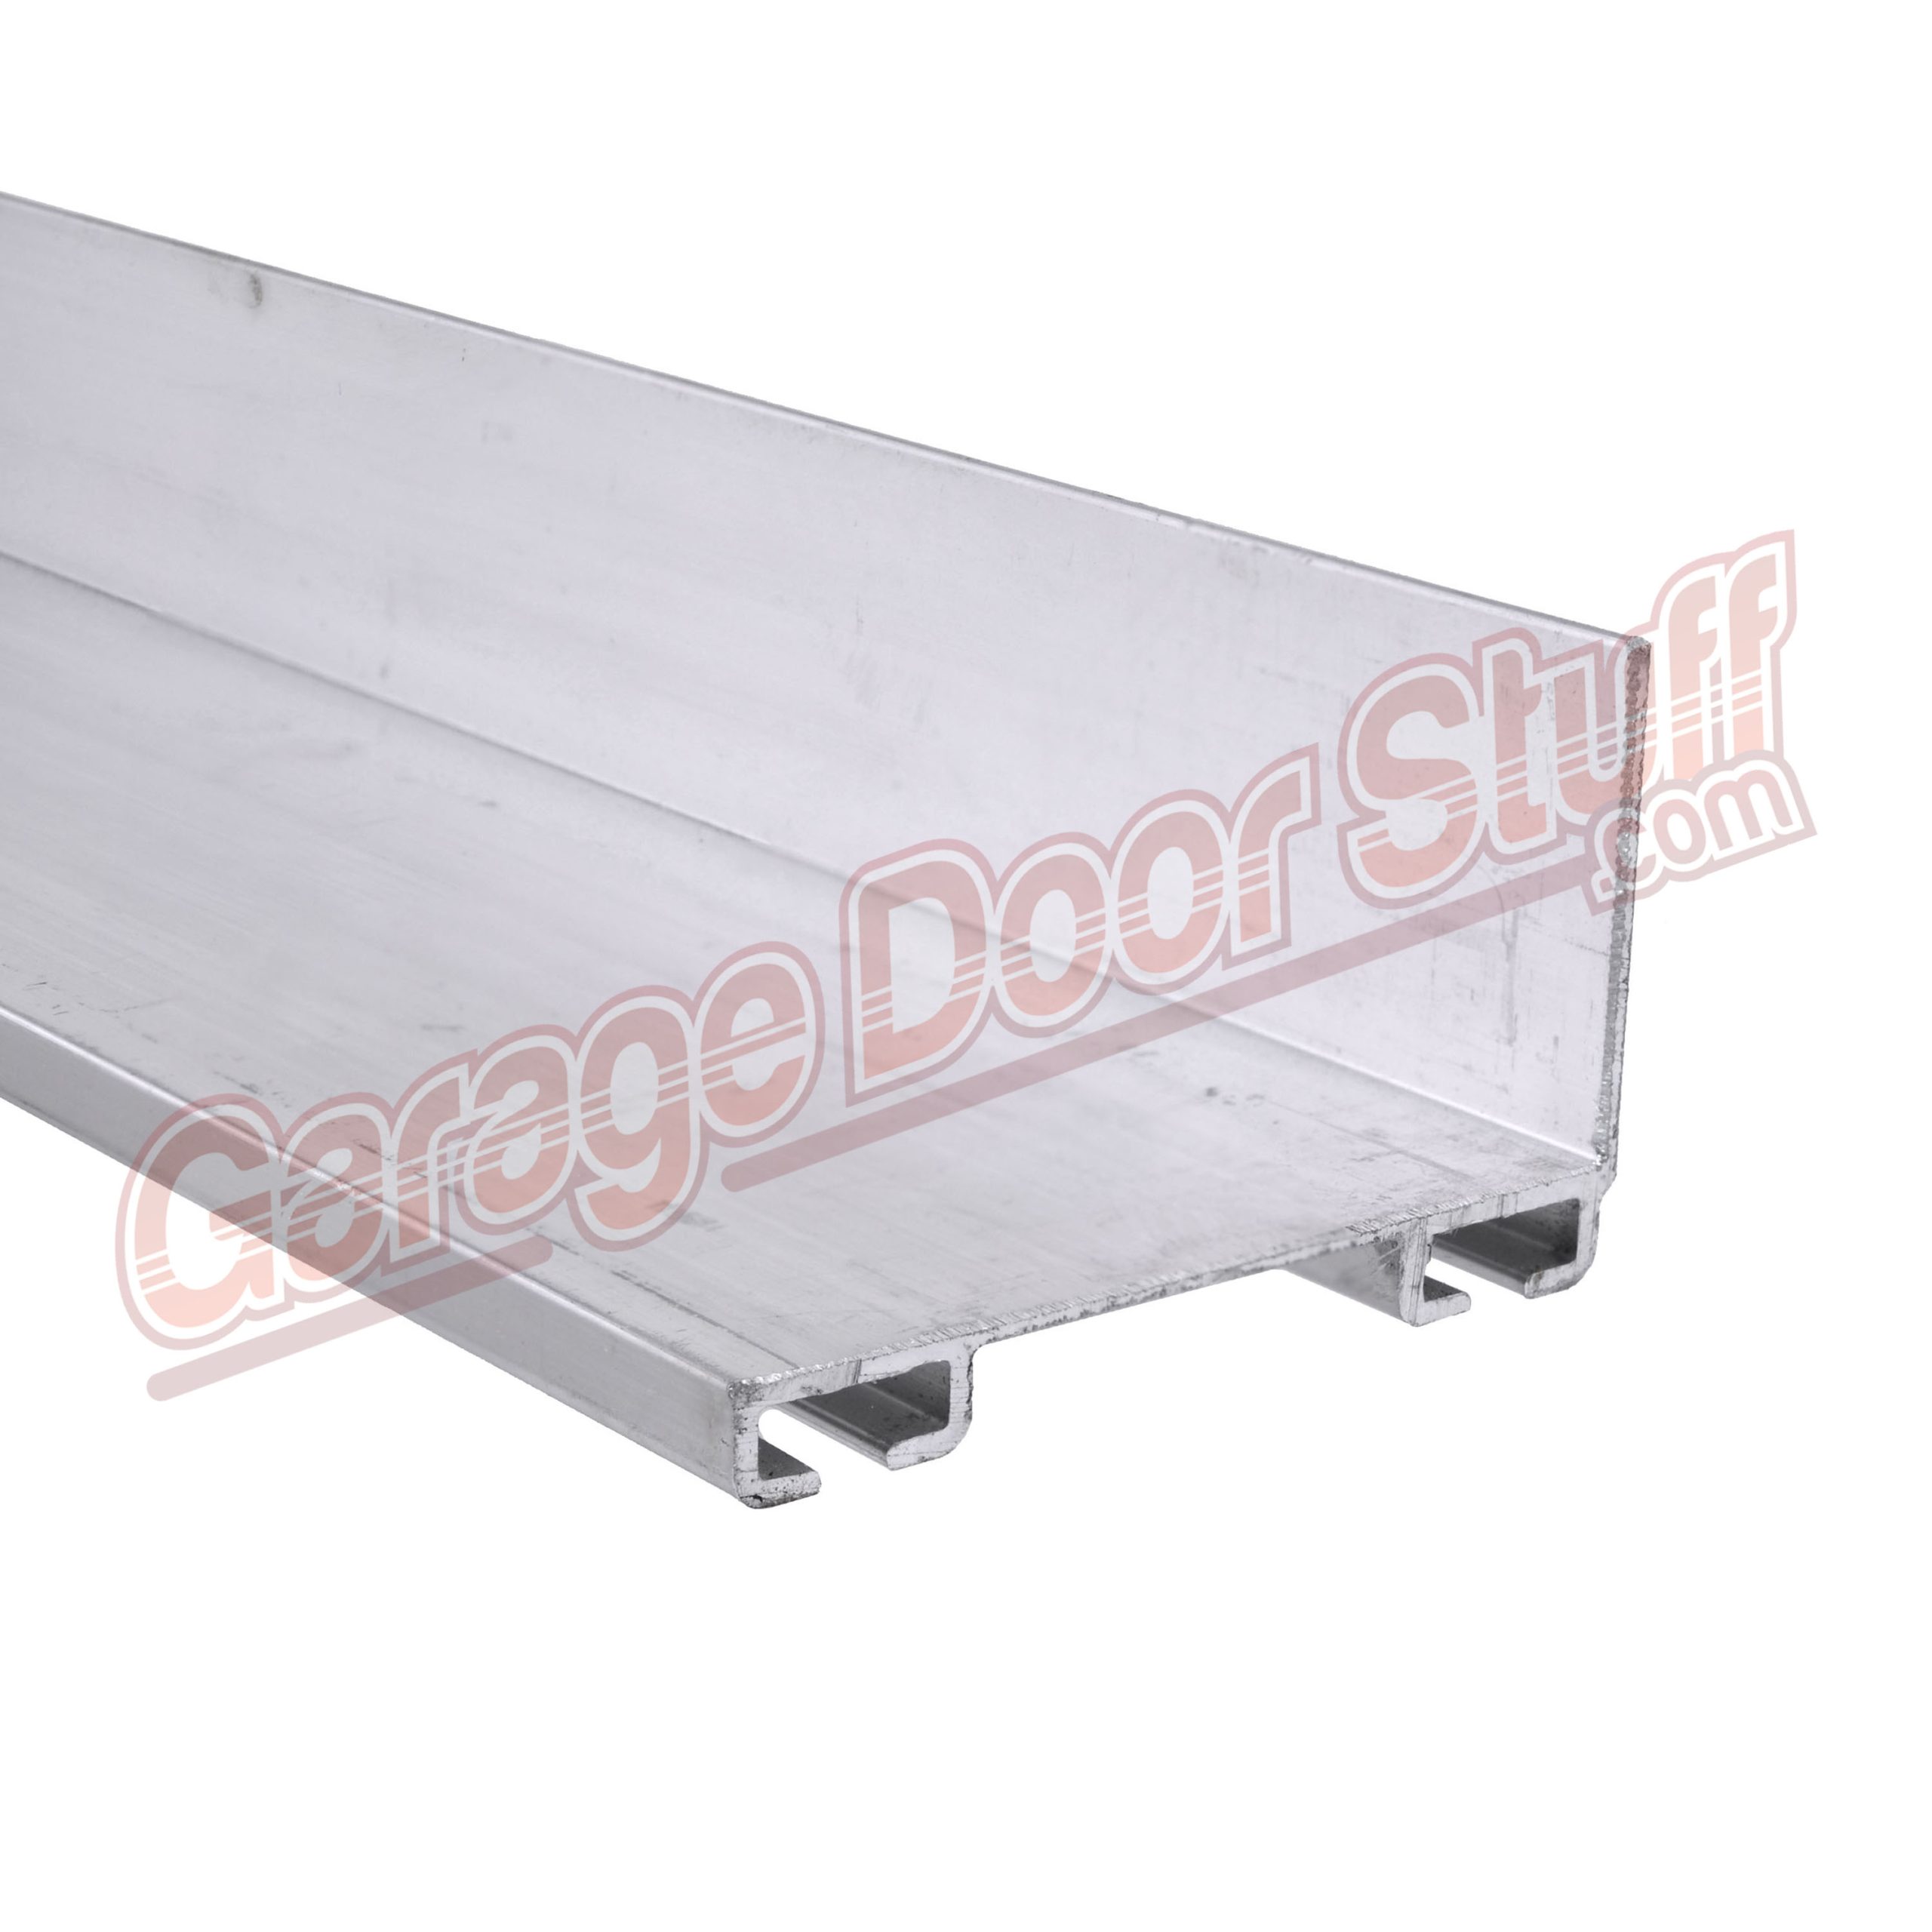
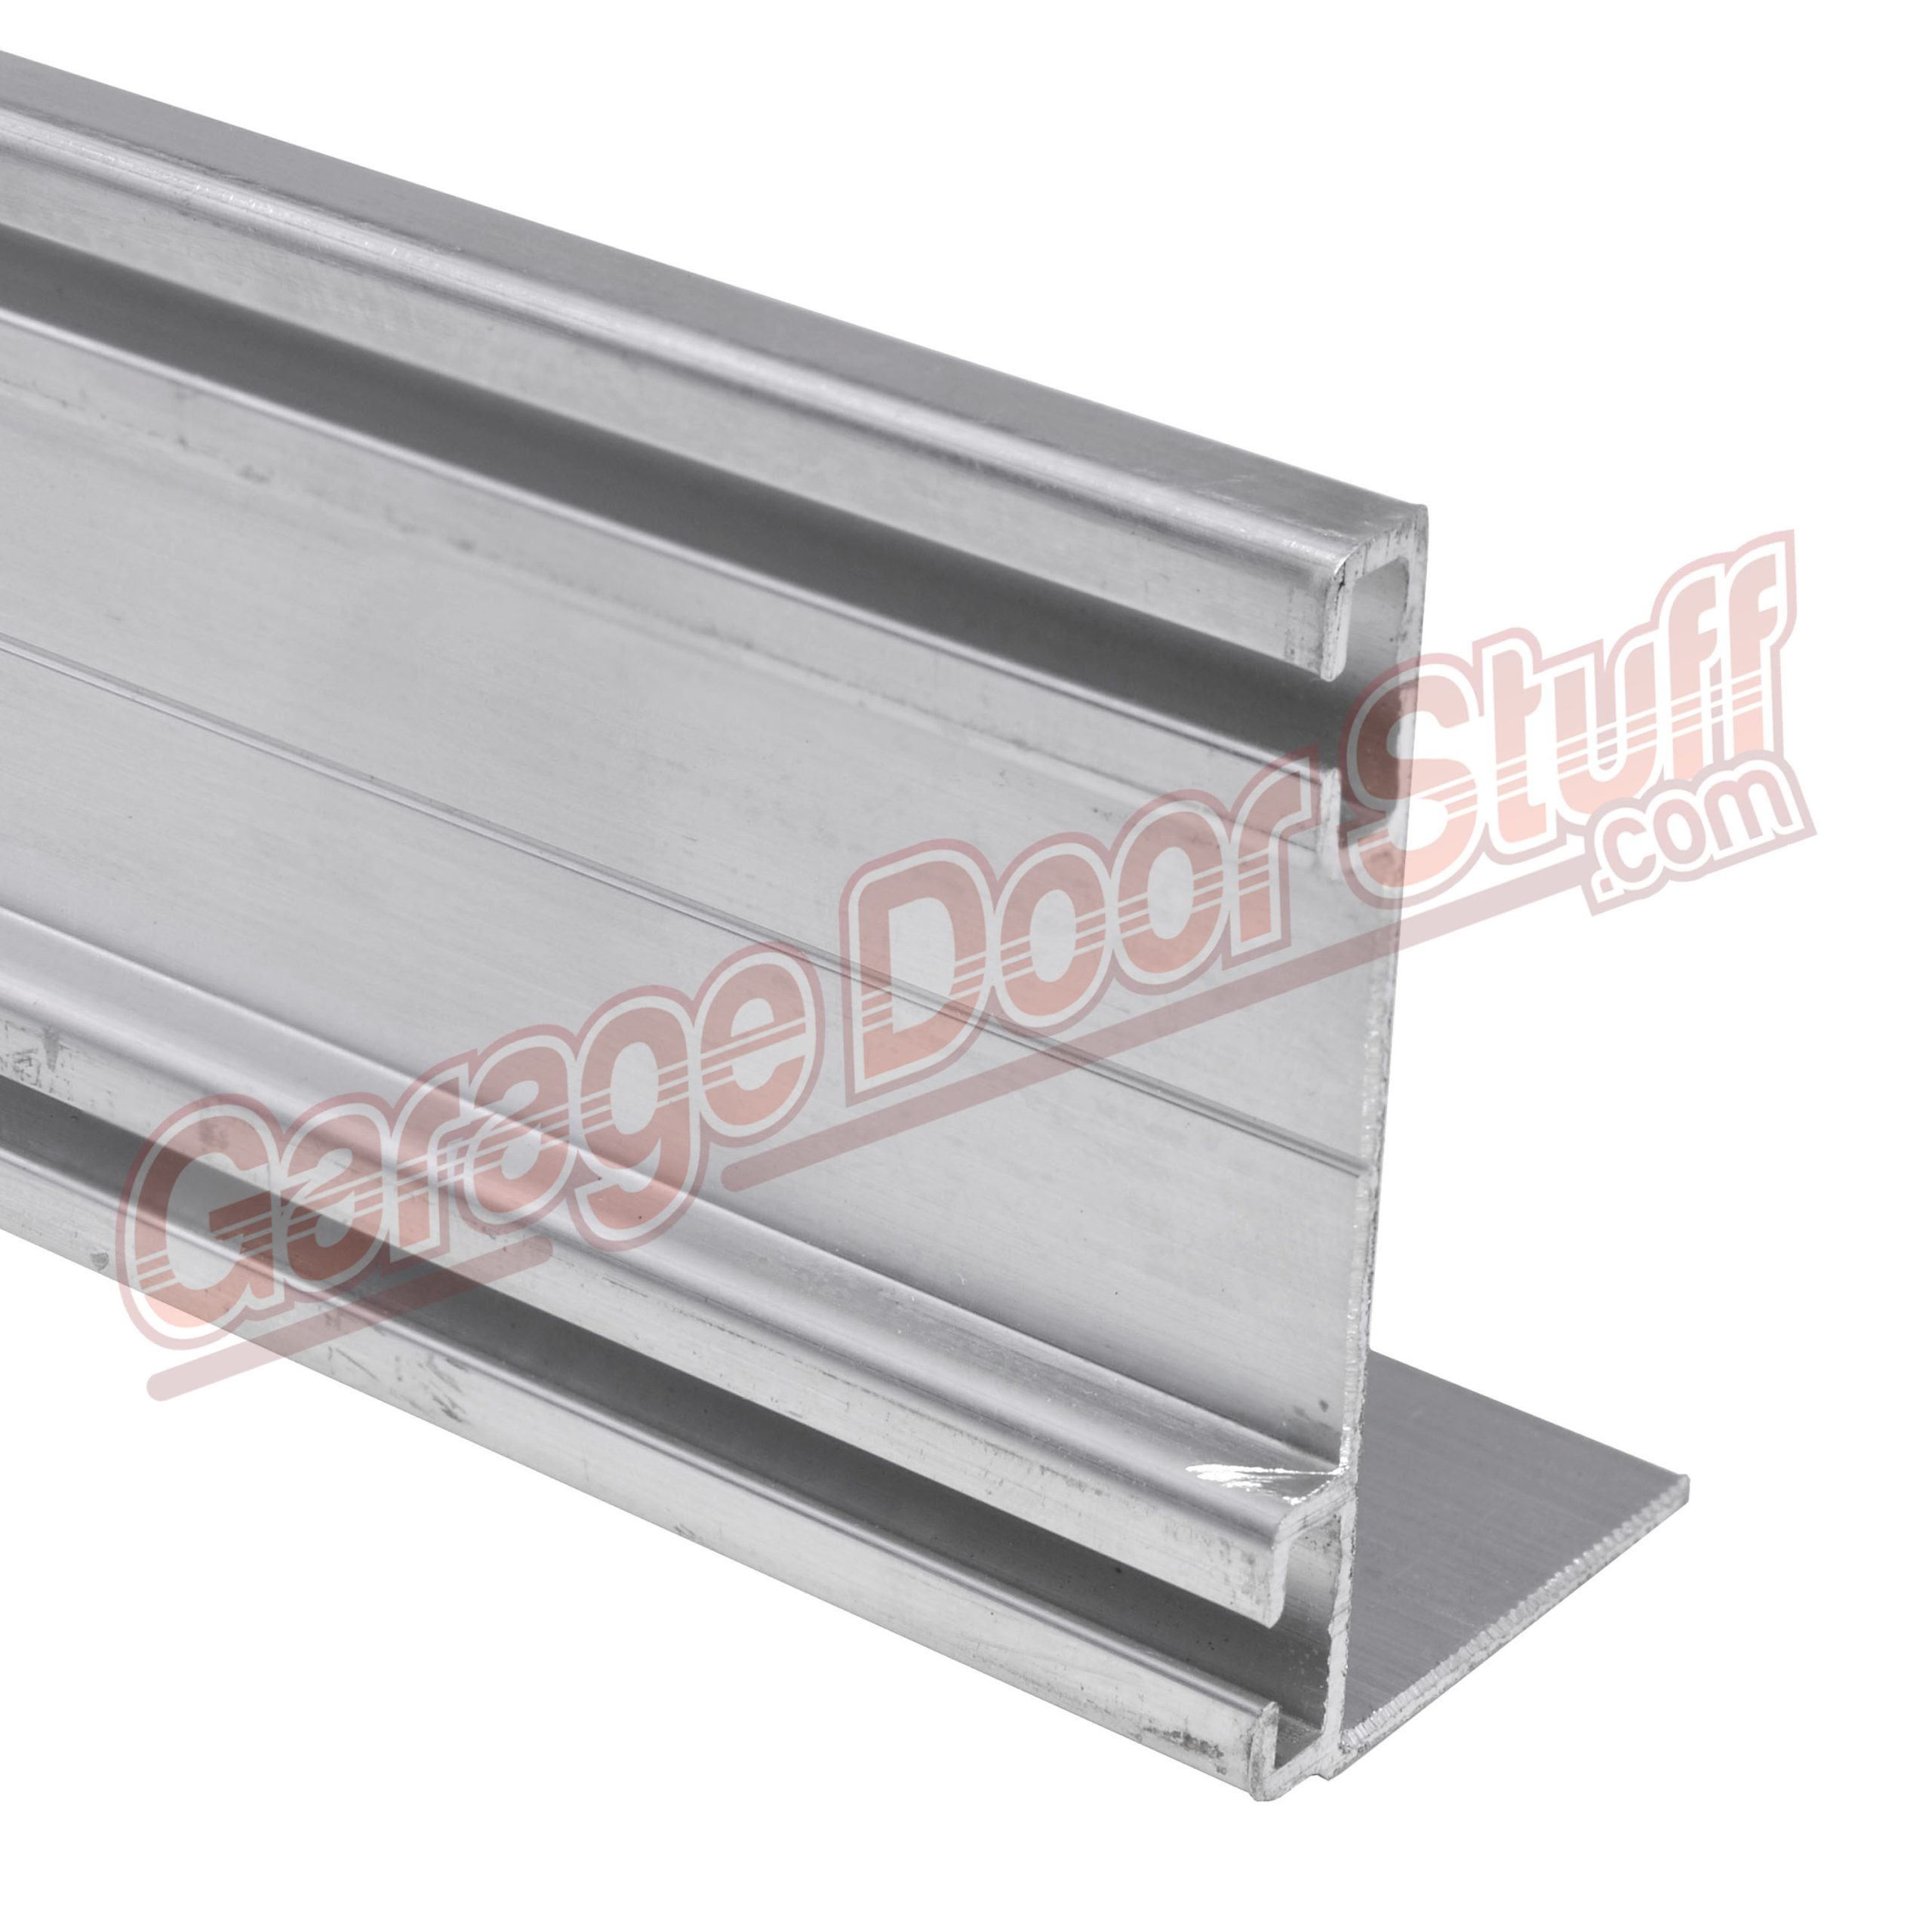
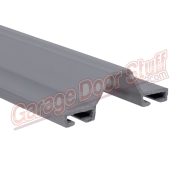
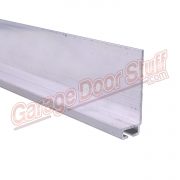
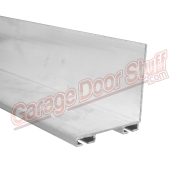
Overhead Door Bottom Seal Retainer
Aluminum Garage Door Bottom Retainer.
If mounting to a metal surface, we carry screws here – XXX
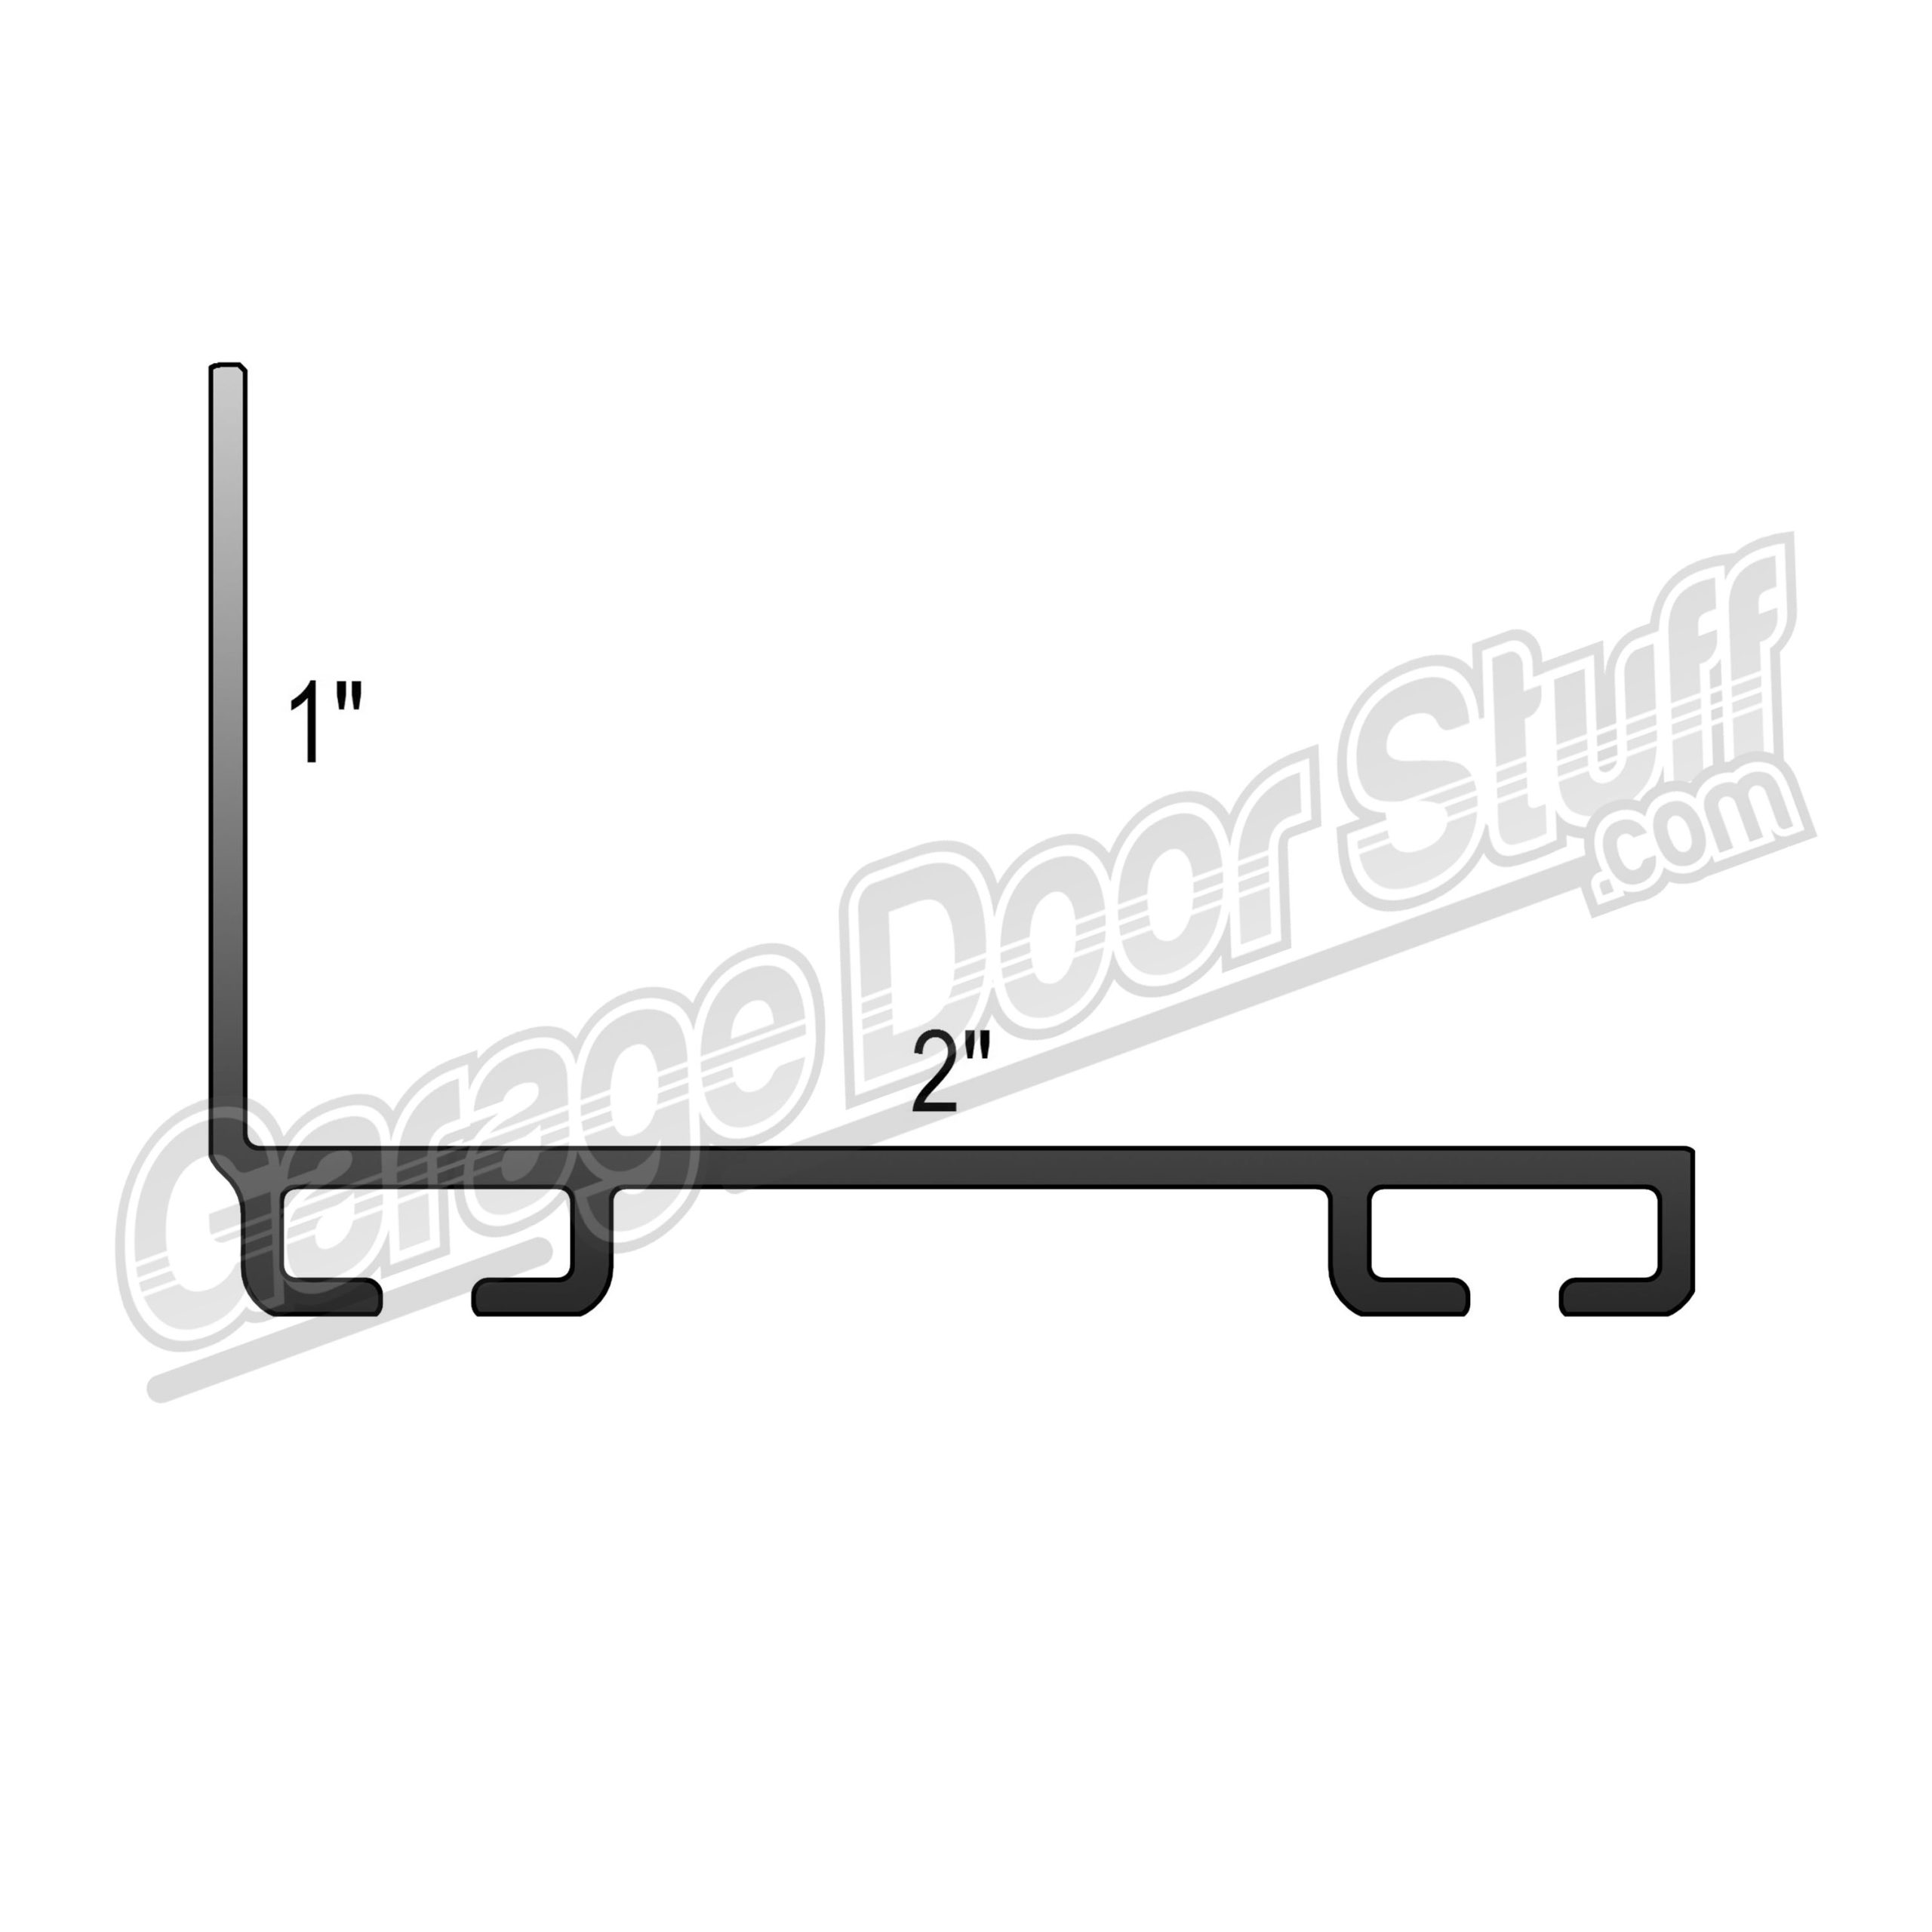
2 X 1 – Aluminum
Inside leg is 1″
Bottom is 2″ on the inside giving a full 2″surface
Aluminum is .050 Thick
Length is 55″ For each Section
Accepts 1/4″ T Style Weather Seal
1 – Length = 55”
2 – Lengths =110’ or 9’2”
3 – Lengths = 165” or 13’-9”
4 – Lengths = 220” or 18’-4”
5 – Lengths = 275” or 22’-11”
MADE IN USA
We offer a wide variety of overhead door bottom seal retainer that can be used not only on garage doors, but on anything that needs a good quality weather seal. Using the correct overhead door bottom seal retainer on your project will then allow you to choose the correct weather seal from a wide variety of seals. We carry garage door bottom retainers in aluminum and PVC. All our retainers are sold in 54” or 55” lengths and are combined to achieve the desired total length. These retainers are butted together and produce a nice finish. This type of garage door retainer is also available in other dimensions in the same style.
Replacing the garage door bottom retainer on the bottom of the garage door will allow you to use the common, ¼” T style weather seal that is available in a wide variety of options, to see the different ¼ T style weather seal options we stock – click here – XXX
Aluminum and PVC garage door bottom retainers are very easy to install.
Typically it is advisable to remove the existing retainer from the bottom of the garage door. In some instances it will be okay to install the new retainer over the existing retainer however, and it is imperative that the new retainer is mounted securely to the bottom of the garage door.
Hold the first length of retainer up to the bottom of the garage door and make sure it’s even with the end of the garage door. If needed, clamp in place. Using a pencil or marker, mark the retainer for any trimming, notching or cutting that is needed. Sometimes trimming around the bottom fixture of the garage door is needed. Beware that the bottom fixture is under extreme pressure / spring tension and do not remove the bottom fixture or cable that is attached to the bottom fixture unless all spring tension has been removed. It is best to trim the new retainer to fit around or right up to the bottom fixture. In most circumstances only the inside leg of the retainer will need to be trimmed. Use a hack saw to cut the retainer. In most situations, it is advisable to use a good quality silicone on the bottom of the door, between the retainer and the garage door, this is particularly important if you are working with a wood door. Secure the retainer to the bottom of the door using the provided fasteners or fasteners of your choice. In most situations, screw up through the bottom of the retainer between the channels on the retainer and also screw the inside leg of the retainer to the inside of the garage door. The object being that the retainer is securely fastened to the bottom of the door providing a good solid platform for the garage door weather seal. Once the first length of garage door retainer is installed, continue installing sections until you reach the other end of the door. Trim, cut or notch the last length of retainer as needed. Clean off any excess silicone as needed.
Now you are ready to install the garage door weather seal. We use WD40 or a like product to help slide the weather seal along the channels of the retainer.
We have videos of this and all our products that give you a better look at the item and also have a short dissertation about the item.
If you are unsure of the correct garage door weather seal retainer and/or garage door weather seal for your application, XXX us some photos and include the thickness and width of the door and we will point you in the right direction.
Overhead Door Bottom Seal Retainer


