Step 1
Raise door to chest height. Stop the door and UNPLUG GARAGE DOOR OPENER NOW!
Step 2
Clamp above and below 2nd roller from the bottom of the door.
Step 3
Remove existing weather seal and if present, remove the weather seal retainer as well.
Step 4
Thoroughly clean the bottom of the door.
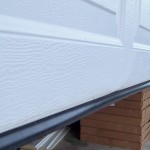
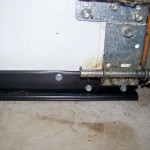
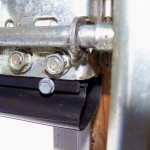
Install new retainer. Notch retainer around the bottom fixture. DO NOT REMOVE OR LOOSEN THE BOTTOM FIXTURE, EXTREAM PRESSURE IS ON THE BOTTOM FIXTURE
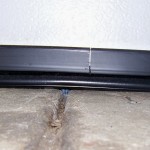
Use screw provided to attach retainer to bottom of door. Keep retainer tight to door. Install fasteners on the inside lip and on the bottom between the two tracks of the retainer. Install retainer the full length of the bottom of the door. Cut retainer length as needed. Make sure your cuts are straight and square, using a miter box works well.
Step 5
Spray the tracks of the retainer with a lubricant such as WD40.
Step 6
Two people required at this point. One persons lines up the weather seal with the two tracks on the retainer, the other person pulls the weather seal down the retainer.
Once the weather seal is to the end of the door, pull some slack into the weather seal at approximately 2 foot intervals. You are just bunching a small amount of the seal at this point, you do not want the weather seal stretched. You will have a small amount of excess weather seal at both ends of the door after properly positioning the weather seal in the retainer. Cut off this excess weather seal.
Step 7
Run two of the provided screws through the retainer, into the weather seal and track of the retainer.
Step 8
Remove clamps and lower door to floor. You may have to re set the down limit switch on your door opener. This is typically an easy task, if you need help, call us or do a google search for “adjusting limit switch ON YOUR BRAND OF OPENER”
If your door is manually operated you may have to adjust the fitting of the lock mechanism.
Step 9
Pat yourself on the back for a do it yourself project well done.
You will be very happy with the results of this weather seal kit.




Comments are closed.